
The Bluesky Personal Data Server#
If you’ve been using Bluesky, you might have heard of the Personal Data Server. It’s the part of the Bluesky architecture that allows us to own our own data. Quoting Bluesky’s Federation Architecture:
A PDS acts as the participant’s agent in the network. This is what hosts your data (like the posts you’ve created) in your repository. It also handles your account & login, manages your repo’s signing key, stores any of your private data (like which accounts you have muted), and handles the services you talk to for any request.
Run your own PDS on a droplet#
One of the great features of the Bluesky architecture is that we users can run our own PDS instances. We can do this for ourselves, our families, our friends, our clubs, or just any group of people who are willing to trust us with hosting their repositories.
Here we’re going to describe how to set up and run a Bluesky PDS on the droplet that was presented in Droplet Superpowers. Much of this is based on Justin Garrison’s Run a Bluesky PDS From Home and the bluesky-social/pds/README, but here we’ll go over the specific steps needed to run a PDS with Nomad and IO on a droplet.
We’ll use the official Bluesky PDS image#
Our configuration uses the PDS images that the Bluesky team publishes in the GitHub Container Registry. There’s a list of available versions on the Release page, where we can see that ghcr.io/bluesky-social/pds:0.4 tracks the latest patch release of the 0.4 minor version.
Nomad configuration for a Bluesky PDS#
If you’ve set up a droplet like we did in Droplet Superpowers, you can run your PDS with a Nomad job configuration like this one, which you might save in a file named pds.hcl:
job "pds" {
  datacenters = ["dc1"]
  type = "service"
  group "pds" {
    count = 1
    network {
      port "http" { to = 3000 }
    }
    service {
      name = "pds"
      provider = "nomad"
      port  = "http"
    }
    volume "pds" {
      type      = "host"
      read_only = false
      source    = "pds"
    }
    task "pds" {
      driver = "docker"
      config {
        image = "ghcr.io/bluesky-social/pds:0.4"
        ports = ["http"]
      }
      volume_mount {
        volume = "pds"
        destination = "/pds"
        read_only = false
      }
      env {
        TZ="PDT"
        PDS_HOSTNAME="***HOSTNAME***"
        PDS_JWT_SECRET="***REDACTED***"
        PDS_ADMIN_PASSWORD="***REDACTED***"
        PDS_PLC_ROTATION_KEY_K256_PRIVATE_KEY_HEX="***REDACTED***"
        PDS_DATA_DIRECTORY="/pds"
        PDS_BLOBSTORE_DISK_LOCATION="/pds/blocks"
        PDS_BLOBSTORE_DISK_TMP_LOCATION="/pds/temp"
        PDS_BLOB_UPLOAD_LIMIT="52428800"
        PDS_DID_PLC_URL="https://plc.directory"
        PDS_BSKY_APP_VIEW_URL="https://api.bsky.app"
        PDS_BSKY_APP_VIEW_DID="did:web:api.bsky.app"
        PDS_REPORT_SERVICE_URL="https://mod.bsky.app"
        PDS_REPORT_SERVICE_DID="did:plc:ar7c4by46qjdydhdevvrndac"
        PDS_CRAWLERS="https://bsky.network"
      }
    }
  }
}
You can read more about this configuration format in the Nomad Job Specification Reference.
The Bluesky-specific part is all in the env section. What are all those environment variables?
There’s an example.env on GitHub and a working set of values embedded in the installer.sh script. That is mixed up with lots of opinionated aspects of deployment that we aren’t using, so I’m going to try to directly describe these variables here. Many of them can be set to the same values used in the installer script, but we need to set a few for each new PDS instance. Here are the ones we need to customize:
| TZ | Your preferred time zone |
| PDS_HOSTNAME | The domain name of your PDS host |
| PDS_JWT_SECRET | The key used to sign JWTs issued by your PDS |
| PDS_ADMIN_PASSWORD | The admin password for your PDS |
| PDS_PLC_ROTATION_KEY_K256_PRIVATE_KEY_HEX | The key used to sign updates that modify hosted DIDs (Reference) |
Get values for PDS_JWT_SECRET and PDS_ADMIN_PASSWORD by running:
openssl rand --hex 16
Output will look like this:
06b051816ba5a269ae00373e61ed46eb
Get PDS_PLC_ROTATION_KEY_K256_PRIVATE_KEY_HEX by running this:
openssl ecparam --name secp256k1 --genkey --noout --outform DER | tail --bytes=+8 | head --bytes=32 | xxd --plain --cols 32
Output looks like this:
3174f736d554cb2d30e32120227fa8cc722bc378d18dd42bac32a47794f4af1f
Here’s a discussion of the others, and again, for our purposes, we can set them to the values listed below.
| PDS_DATA_DIRECTORY | /pdsThe docker image expects data to be stored here, so our job configuration maps this to a Nomad host volume. |
| PDS_BLOBSTORE_DISK_LOCATION | /pds/blocksA path in our mapped host volume |
| PDS_BLOBSTORE_DISK_TMP_LOCATION | /pds/tempAnother path in the mapped host volume |
| PDS_BLOB_UPLOAD_LIMIT | 52428800The maximum size for uploaded blobs (Reference) |
| PDS_DID_PLC_URL | https://plc.directoryThe offical directory of DIDs |
| PDS_BSKY_APP_VIEW_URL | https://api.bsky.appThe main Bluesky app |
| PDS_BSKY_APP_VIEW_DID | did:web:api.bsky.appThe DID of the Bluesky app |
| PDS_REPORT_SERVICE_URL | https://mod.bsky.appThe Bluesky moderation service |
| PDS_REPORT_SERVICE_DID | did:plc:ar7c4by46qjdydhdevvrndacThe DID of the Bluesky moderation service |
| PDS_CRAWLERS | https://bsky.networkThe official Bluesky crawlers |
Before we run the Nomad job, we need to also create the host volume and restart Nomad. First add this to the client section in your /etc/nomad.d/nomad.hcl:
  host_volume "pds" {
    path = "/srv/nomad/pds"
    read_only = false
  }
Then restart Nomad by running systemctl restart nomad on your droplet.
Once the restart has settled, we can apply the pds job configuration.
nomad job run pds.hcl
IO configuration for a Bluesky PDS#
The IO ingress for our PDS is really simple:
ingress "noted.at" {
  name    = "pds"
  backend = "nomad:pds"
}
Yep, that’s it. Add a similar ingress to your IO configuration and your PDS will be online.
Creating users#
The Bluesky team publishes a tool called pdsadmin for managing PDS instances. I’m using a Go version by Lance Haig that’s available at github.com/lhaig/pdsadmin. If you have Go installed, you can get it with go install:
go install github.com/lhaig/pdsadmin@latest
You also need a file in your home directory called pds.env with the contents of the env block in your PDS job configuration above.
Here I am using pdsadmin to create an account in my new PDS:
$ pdsadmin account create --handle kexpfan.noted.at --email **********
Using config file: /home/tim/pds.env
Invite Code: noted-at-*****-*****
Account created successfully!
-----------------------------
Handle   : kexpfan.noted.at
DID      : did:plc:qo2urk437ss36eyefp5jgoyw
Password : ************************
-----------------------------
Save this password, it will not be displayed again.
This next step verifies the new handle by writing a DNS record. My domain is on GoDaddy and I’m using the godaddy-cli tool to create the record:
godaddy-cli r a --domain noted.at --type TXT --name _atproto.kexpfan --value did=did:plc:qo2urk437ss36eyefp5jgoyw
Verifying your Users without Email#
If you’re just hosting a PDS for yourself and a few friends or family members, it’s probably not worth the effort to set up an email server, nor is it worth the complexity and risk.
You can just create users with pdsadmin and verify them with a line of SQLite.
Run this in sqlite on your instance:
sqlite3 /src/nomad/pds/account.sqlite
This sets the confirmation time to whatever value you choose (when you edit the time below):
update account set emailConfirmedAt = "2025-06-01T00:00:00.000Z";
If you want to use the current time, do this instead:
update account set emailConfirmedAt = strftime("%FT%R:%fZ", 'now') where emailConfirmedAt = '';
Observing your Bluesky PDS with IO#
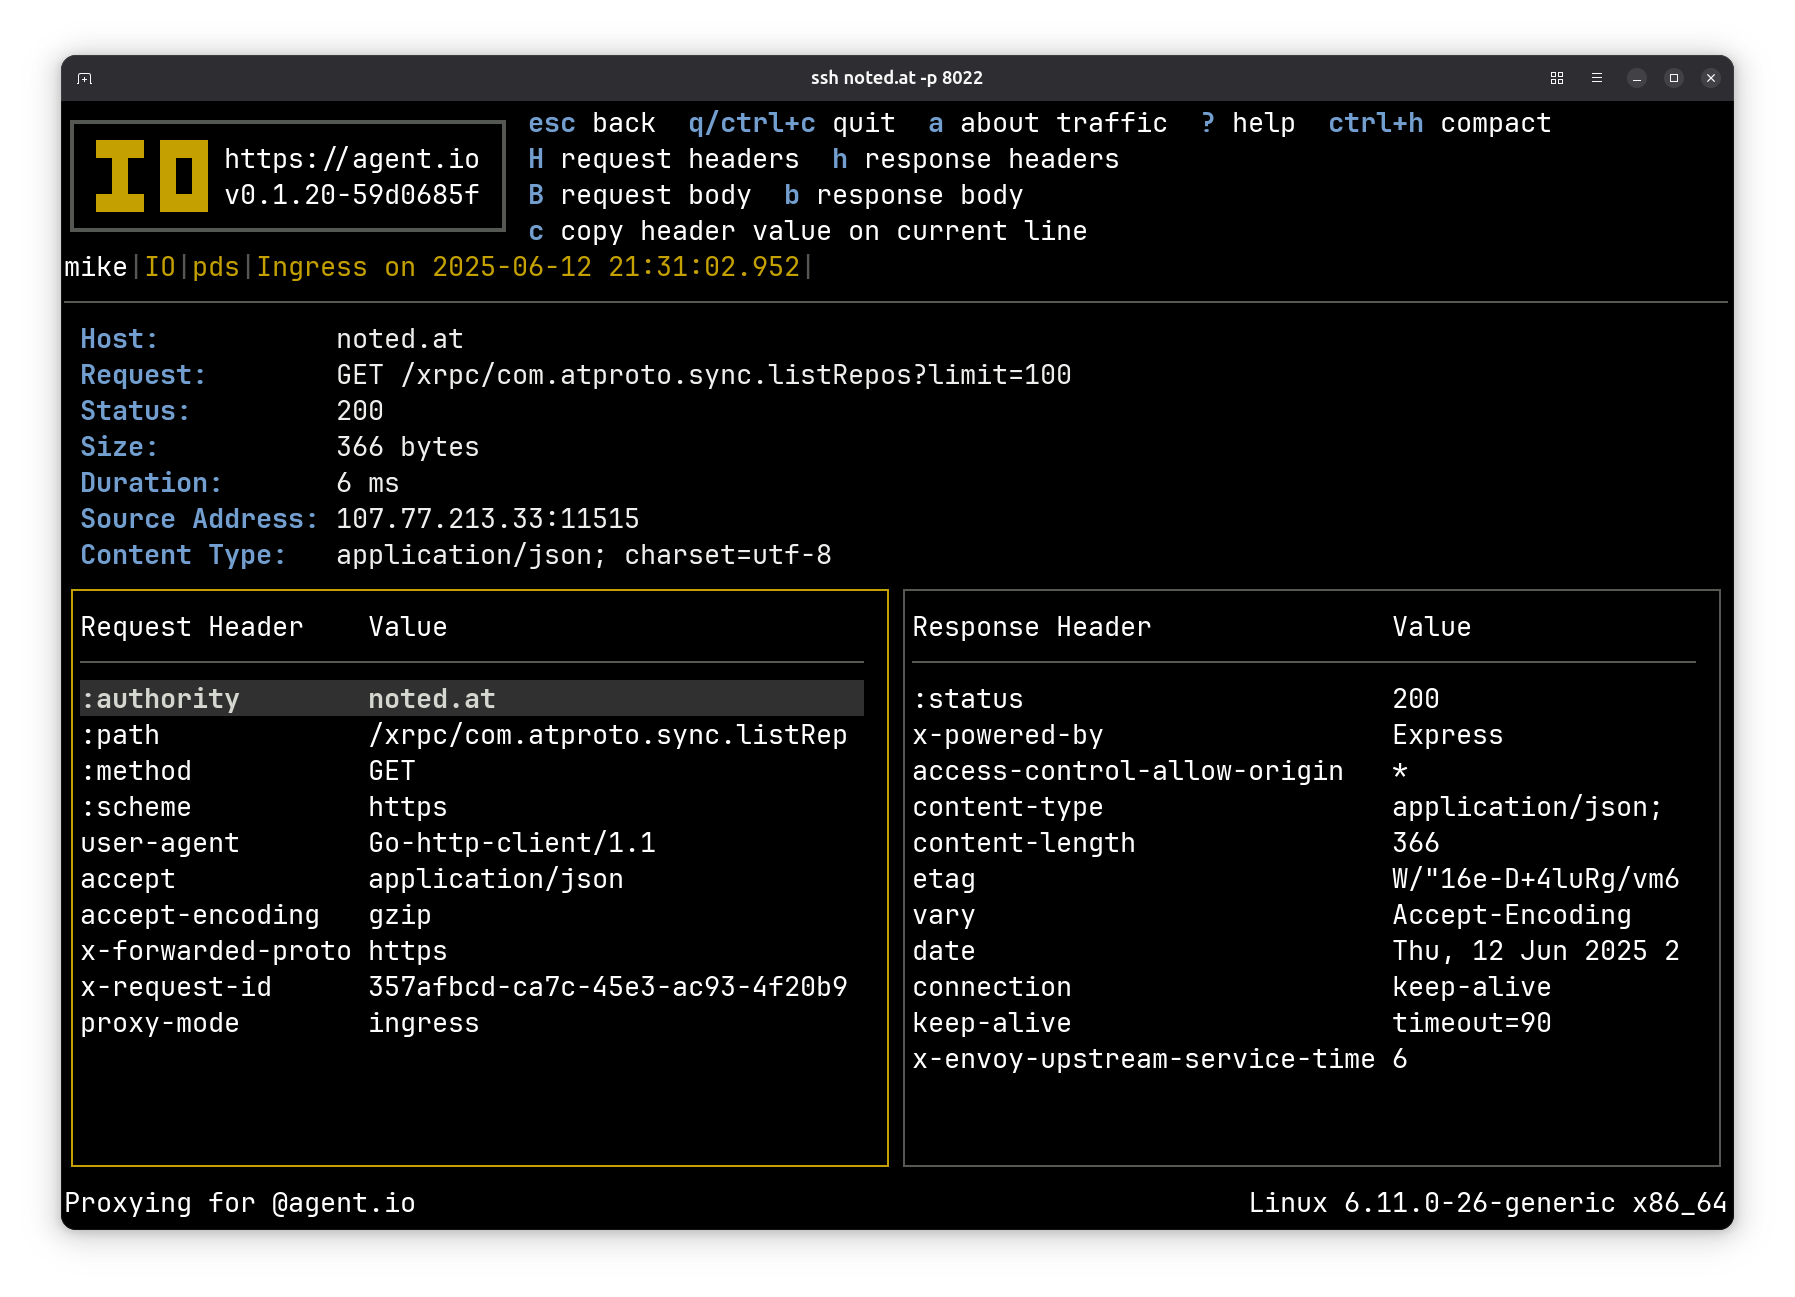
Now it gets fun. Use IO to watch your ingress traffic logs when you use pdsadmin.
For example, when we run pdsadmin account list, one of the calls that we see is to the sync.listRepos method. Here’s the IO view of the request and response headers:
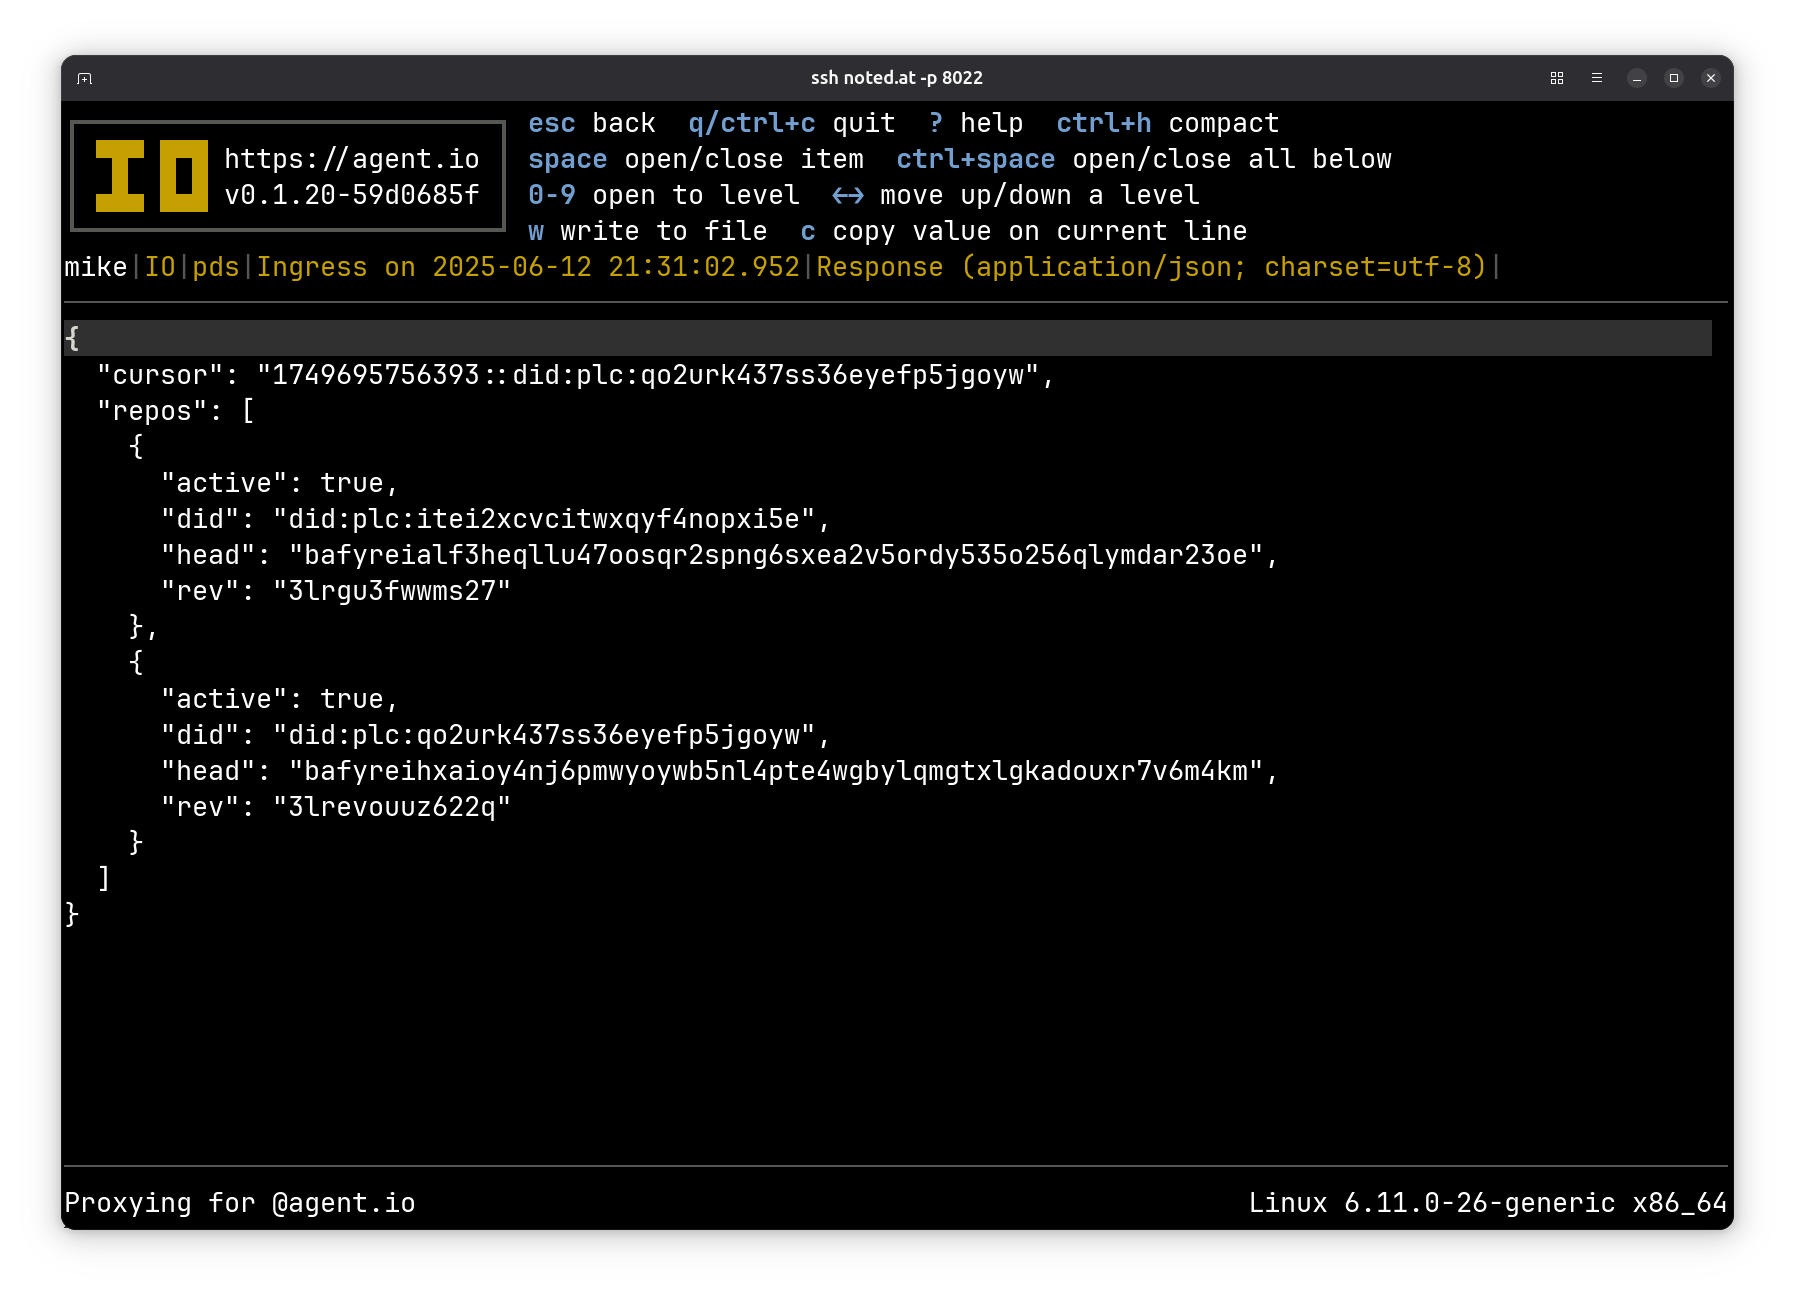
Here’s the response body:
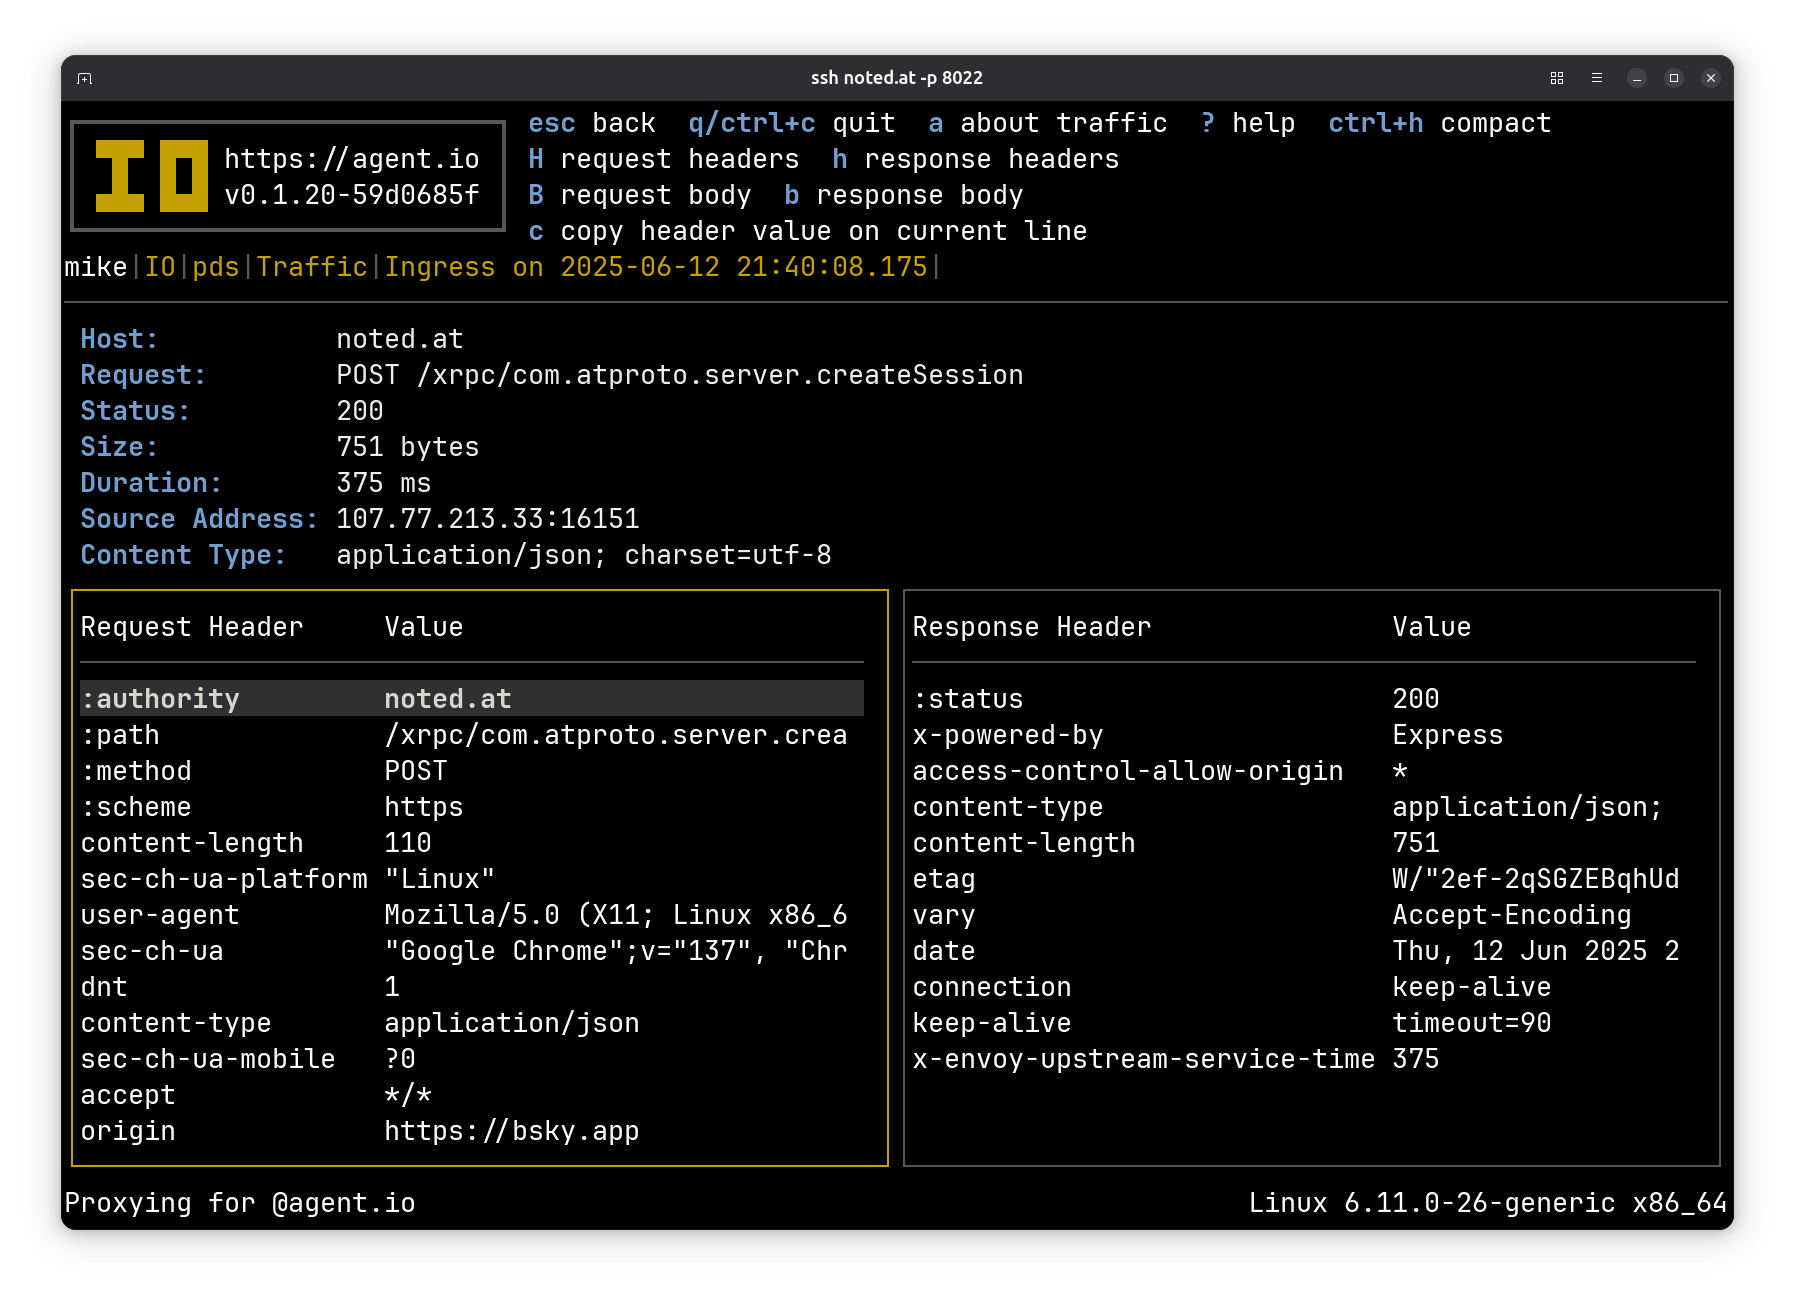
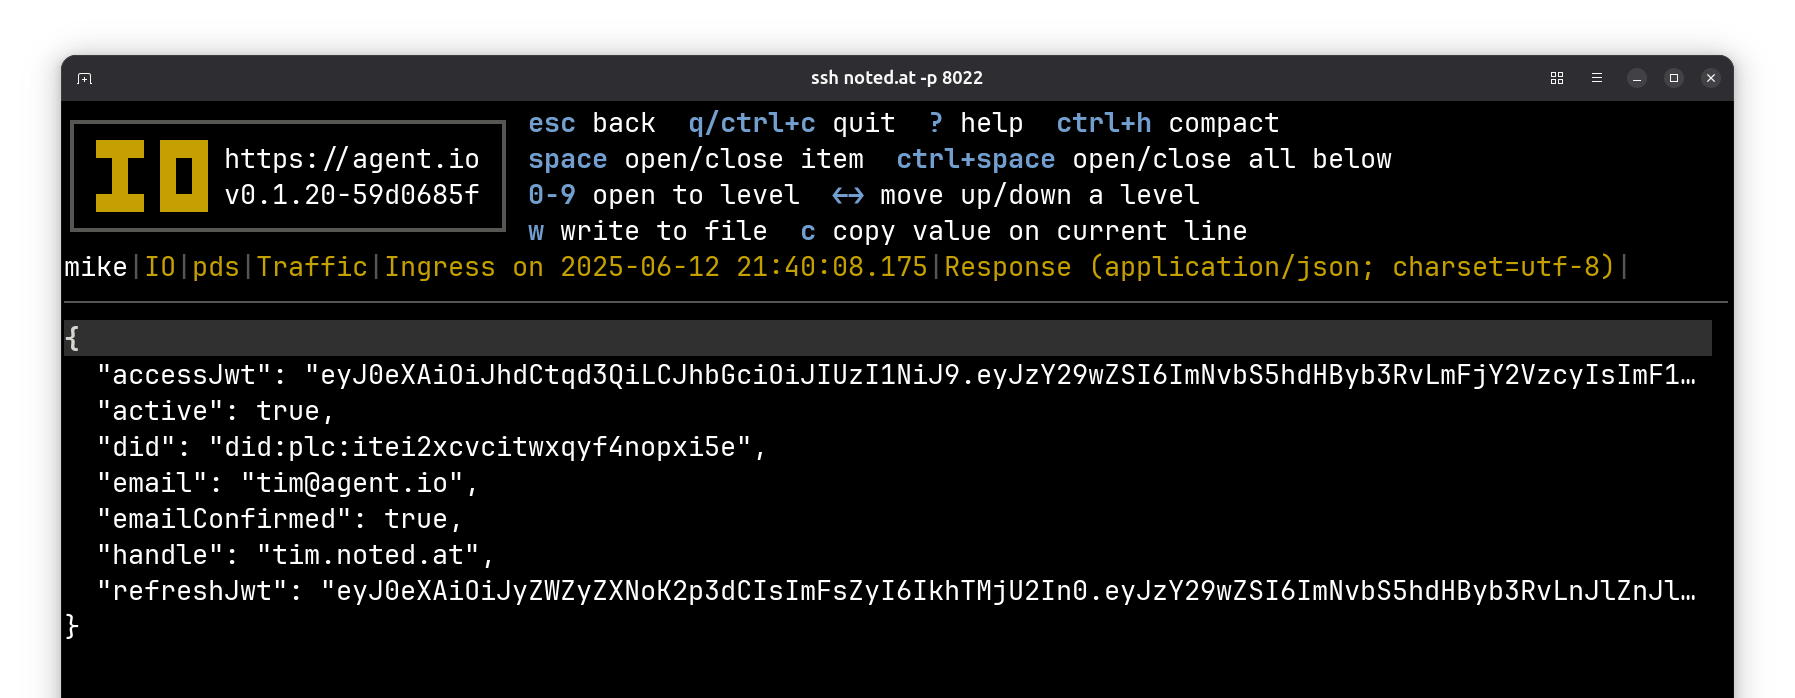
Then log into your PDS from Bluesky. Here’s a server.createSession call:
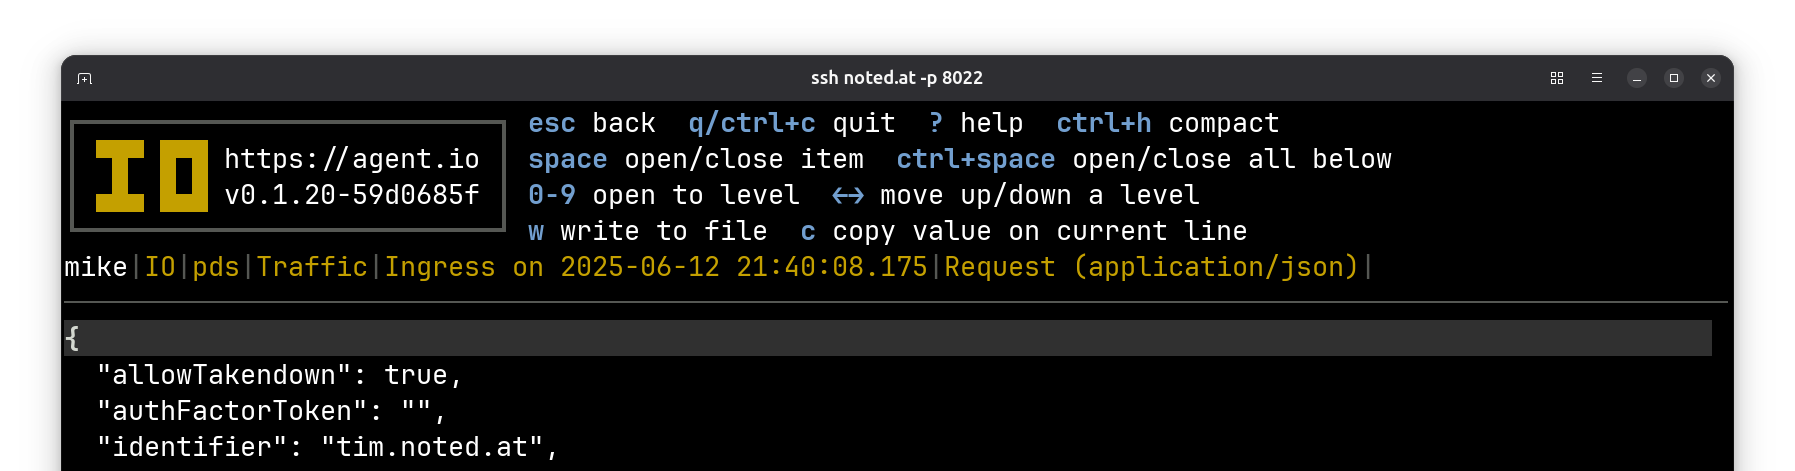
Here’s the request body (cropped to omit my password):
And here’s the response body:
You can also do things like post or follow users; all of these operations will show up in your PDS traffic log.
We’ll do more with this later when we look at how IO implements ATProto auth.
Other resources#
- The bluesky-social/pds/README
- Run a Bluesky PDS From Home
- Notes on Self Hosting a Bluesky PDS Alongside Other Services
- Self-Hosting a Bluesky Personal Data Server on Ubuntu VPS
- Self-hosting Bluesky PDS
- How to set up a Bluesky PDS
- Self-hosting Bluesky
- atp.tools
- pdsls.dev